TL;DR
Well, the lidar spins… round and round and …
Introduction
So, 8 weeks in and we just got the chance to start at last. After weeks of troubleshooting with the Jetson Nano, we’ve got it to work. Not only that, we’ve also just recently gotten both the lidar and Jetson Nano to boot up for the first time. One could say this is the most productive we’ve ever been. 👀
As such… !Disclaimer, this might be a long post
Building progress
Firstly, I must give credit to Guo Jun and Soon Li for their work on the drilling of the frame. 👏
Jetson Nano
Thor isn’t on our side
A few things happened just over the weekend. Guo Jun first contacted me saying that the micro-usb doesn’t even power on at all, the basic requirement to really get anything working. Clearly, I was shocked and really afraid that we might have broke something (I mean we already broke a lot of things). So when I got my hands on it on Wednesday, the first thing I had to do was figure out why the Nano wasn’t drawing power. 🔋
And of course, it choose to not work at all. After a bit of twinkling and doubting my life decisions (and calling support multiple times [support never actually get back to us]), I was on the verge to take up Guo Jun’s idea to pay $300 for a replacement. At that point, I thought ‘please just work so we don’t have to go through all that trouble’ and guess what, out of the blue the indicator lights turned on. I guess Thor was done messing with us. Well, it works so don’t question why and we were back to business. 👍
Boot problems
That said, fixing the Jetson Nano wasn’t the end of the story, we were back to the drawing board in figuring out why the Nano is always in a boot loop. I don’t know how we did it but it could’ve been a combination of me re-flashing it on my computer or the fact that we unplugged every other wire but in the end, the thing decided to just work. 😑
VNC
I must say that whoever left a documentation attached to the Nano on installation is a hero, that thing literally helped me so much in starting up. One of those things would be VNC to help with remote connection. If you haven’t noticed yet, the Nano doesn’t come with keyboard nor mouse. Using SSH and VNC definitely helped in this aspect. That said, I still took a good 3 hours to figure everything out. Once I got that working, work on the Nano was a breeze.
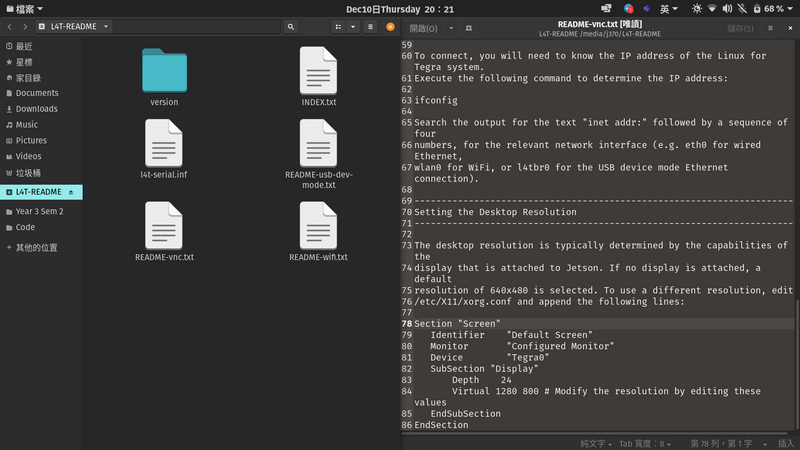
Whoever added this deserves coffee.
Managed to get VNC up and running
YDLidar
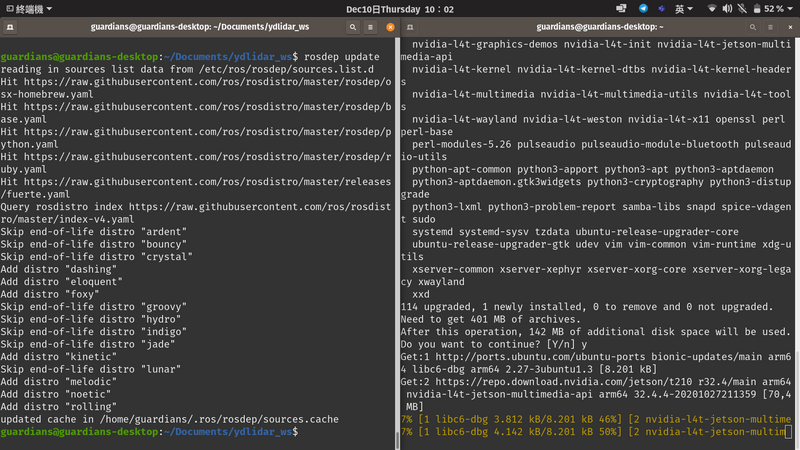
Now to the main topic, I’ve managed to get the Lidar up and running. It once again reaffirms that documentation is one of the best and worst friends of a programmer. I am just going to throw in a few links for your reference if you would like to take up this adventure as well. Firstly, I needed the SDK for the lidar which can be found on the YDLidar website. I didn’t really bother to read through the entire thing but I did catch that there was a Github which probably had updated software.
I eventually found out that there are two Github Coorperation accounts, YDLidar and EAIBOT. Their repositories are as confusing as their documentation but I eventually settled on this repository for the SDK. Everything is in there if you know where to find it 😂 but support from issues are next to none. All I could say is I am glad I’ve passed that stage. 😁
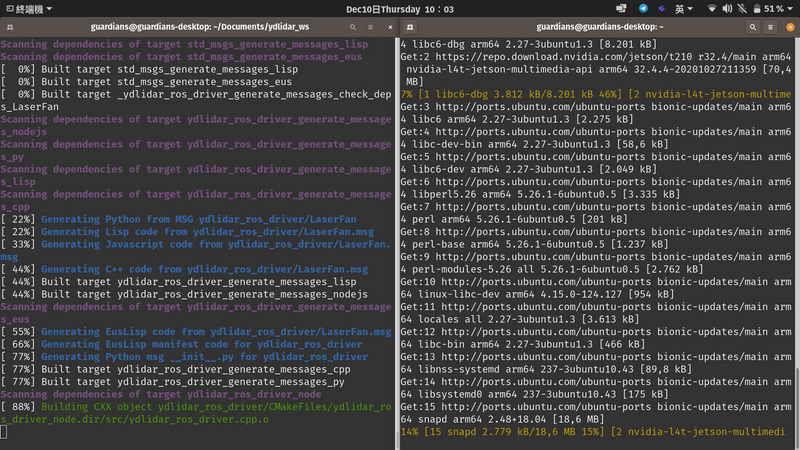
Updating the system and building as well as making of the SDK.
ROS
Following a few tutorials and blogs online, I found out that we would be better off using a Robot Operating System (ROS). Once again, looking through the confusing repos, I used this repository to install the ROS driver which till this point I think is just a bunch of xml code (At least I don’t have to write it up). I installed ROS Melodic which have quite decent documentation until I made the mistake of looking at the next step which had like a 100 pages in it. I casually took the choice of not reading it and did a few searches. I would say that this blog post had helped me the most in my purpose.
Setting up YDLidar with the help of the ROS Driver
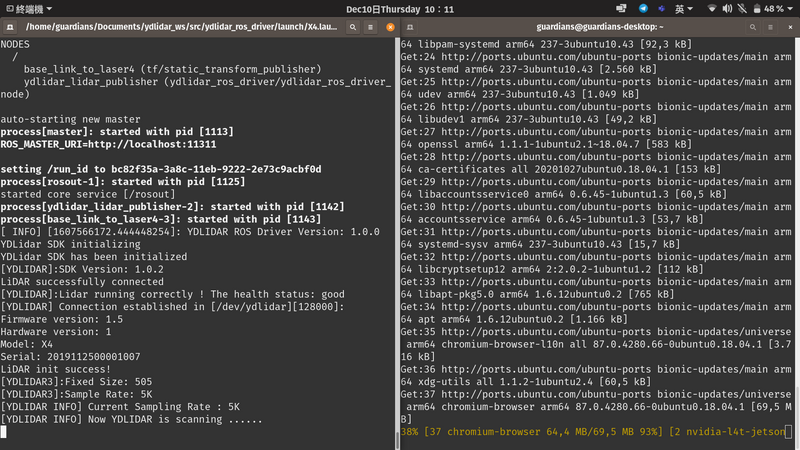
Managed to get YDLidar to work. You can’t see the Lidar here but just believe me.
If you think I wouldn’t have to read another documentation, oh how wrong you are going to be. I spent an entire day on the blog post along with some other videos really trying to decode this alien language I am trying to get the hang of. I ran into a 101 errors along the way and I am not going to bore you with all but probably some of the most prominent ones. One thing for sure, either the blog post is outdated or I have no idea what I was doing. It is a nightmare that I have to sieve through all my errors right now.
1

rqt_rviz via VNC (core dumped) or X
First error I faced had something to do with VNC as I tried to run RVIZ over the network to reduce the amount of stuff I need to bring to school. Unfortunately, I haven’t got that to work but I might look into it in the future. I did came across a few solutions but none seem to work yet.😩
1

ydlidar X2 health code: ffffffff
This one took a good 6 hours of my time trying to figure out what was wrong. Ok, not really 6 hours because I did fix it relatively quickly, at least I thought I fixed it. Apparently, I spent the rest of the time fixing what seemed to be an unrelated problem just because I didn’t read the docs. So the problem lies that some files are meant to work with some models, which I conveniently spent 0 brain cells to think about.
1

Timed out waiting for transform from base_link to map during map navigation
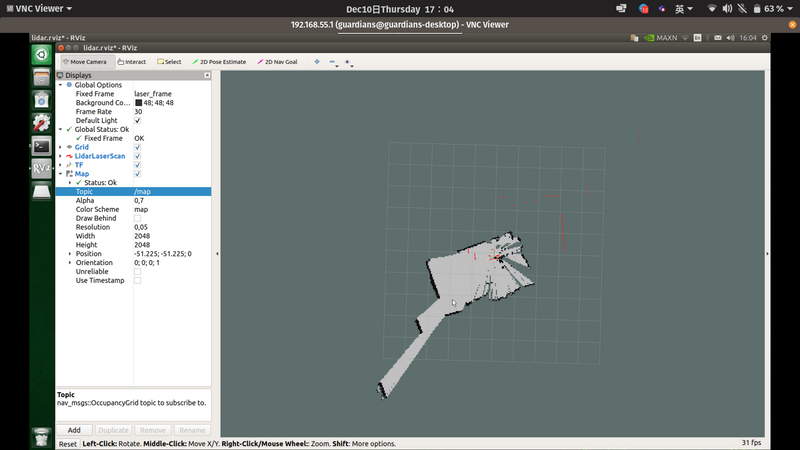
Last but not least, after getting the Lidar to show output for the first time, I became ambitious in wanting to map out a room. I don’t know what made me think I could finish it in a day but I was determined to add in the map feature. This error showed up quite often and I am no longer so conscious to remember how I fixed it. But it’s now fix so I guess that’s good? The reason this problem happened had something to do with how the layers communicate with one another which I fixed in a separate problem when I managed to get the map to work but it doesn’t seem to be correcting with accordance to the base_link which tells the map where the robot is.
Now, back to the blog which did not provide me with the full answer. In trying to find a shortcut, I actually took the longer route and had to head back to reading the documentation. I spent a good portion of my time learning what hector slam was and another good portion learning how to properly call the required functions. I also referred to this question when the blog post did not answer some of my problems. Eventually, I figure out how the layers should be done and redid with my own design. Eventually, all the hard work paid off and I got my first proper render of my room.
(Updated: )